sales.sst19@gmail.com - GST NO. : 07EVHPK7015P1Z1
35,000.00 / 1 Piece
| Business Type | Supplier, Trader |
| Automatic Grade | Semi Automatic |
| Certification | ISO 9001:2008 Certified |
| Country of Origin | India |
| Click to view more | |
Preferred Buyer From
| Location | Anywhere in India |
Product Details
Usage/Applicationv
To Test Paint Use
Frequency
50-60 HZ,66Hz
Thickness
Less Than 0.3 Mm
Port
NEW DELHI
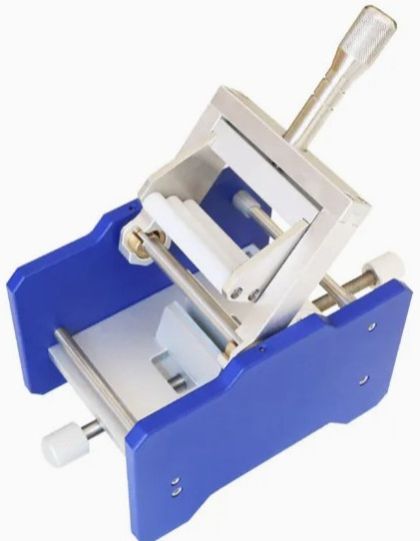
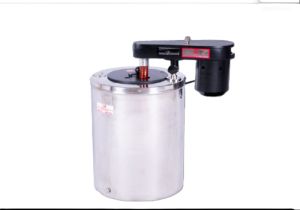
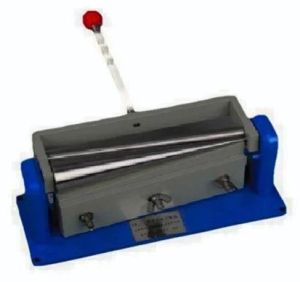
The Cylindrical Mandrel Bend Test Apparatus is used to test the resistance of a coating of paint, varnish or related products to cracking and / or detachment from a metal substrate, when subjected to bending round a cylindrical mandrel.
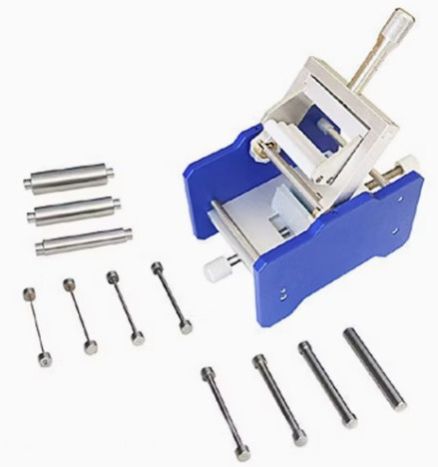
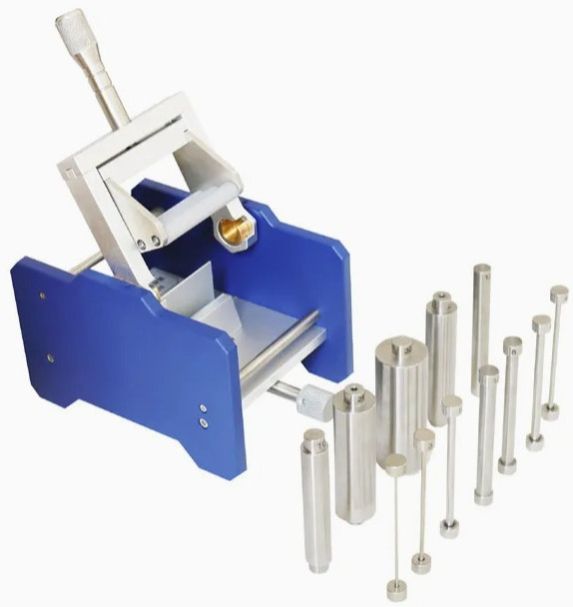
- Stainless steel mandrels.
- Full range of mandrels -2mm to 32mm diameter. (1/8″ – 1” – ASTM-D522)
- Mandrels easily changed in seconds.
- Pre-drilled base, ready to secure to workbench.
- Following specifications can be complied with: BS EN ISO 1519 Type 2 and DIN53152 or ASTM D522 -Test method ‘B’
DESCRIPTION
- The instrument consists of a base plate, panel holder with clamp, a series of mandrels and the handle/bending mechanism. The base should be secured to a suitable work surface, allowing the operator to turn the handle smoothly during a test. The diameter of the mandrel to be used depends upon the test specifications. If a ‘point of failure’ test is carried out, successively smaller mandrels are used until a coating failure is observed.
The panel holder accepts panels measuring up to 50mm (2″) wide, which are held firmly in place by the clamp. BS EN ISO 1501519 calls for panels of 50mm x 100mm, of a thickness of up to 1mm. The positions of the panel holder and the bending mechanism are adjustable, thereby ensuring that the panel is bent firmly around the surface of the mandrel.
A nylon pad is fitted to the bending mechanism where it makes contact with the panel, to ensure the mechanism slides smoothly over the panel. - METHOD OF USE
1) Panels should be prepared in accordance with the appropriate specification.
2) With the instrument secured to the bench, move the panel holder and bending
mechanism away from the mandrel hub.
3) Insert the required mandrel.
4) Lower the handle to a vertical position, then insert the test panel, painted side down, until approximately 40mm (1.6″) protrudes from the mandrel centreline toward the bending mechanism.
5) Secure the panel using the clamp then adjust the holder so that the panel just touches
the mandrel and adjust the bending mechanism so that it just touches the panel.
6) Lift the handle smoothly through 180°, without jerking, over a period of 1 -2 seconds.
7) Remove the panel and examine for signs of cracking and/or detachment from the
substrate. If required, repeat the test with successively smaller mandrels until a failure is
observed.
A accurate device to determine the cracking / flaking of paint or coating on a standard
test metal panel on bending it through 180º on variable steel mandrels provided.
Key provided is used for leveling purpose, to be used with mandrel.
Mandrel Sizes Provided : 2mm, 3mm, , 4mm, 5mm, 6mm, 8mm, 10 mm, 12 mm, 16 mm,
20 mm, 25 mm and 32 mm.
Looking for "Cylindrical Mandrel Bend Tester" ?
Piece


